Welcome to the Replica family! Since day 1, it has been our goal...scratch that...our MISSION to give you everything you need to take photos you're proud of. And that means sharing the tips you need to hit the ground running (if you're new to photography) or brush up on your photo skills (if you're already experienced with a camera). And you
In this how-to, we're sharing our top 5 tips to create professional-looking photos at home with either a phone camera or DSLR camera. Specifically, we're cover how to control shadows, how to recreate two styling compositions that look impressive but are crazy easy to assemble, how to create depth in your photos, and more. But enough preamble, let’s dive it!
Tip 1: Control your shadows
No matter what you photograph or what type of light you use (natural or artificial), you’re going to get shadows. Whether your shadows are hard or soft depends largely on three things: your light source, diffusion, and whether you add a bounce card.
Hard light sources create crisp shadows that have an abrupt transition between the shadow and the background. If someone gave you a pencil, you could easily trace its outline. Soft light sources create soft shadows that blend gradually into the background – it’d be really hard to decide where to place your pencil.

Hard shadows are crisp, with an abrupt transition between the shadow and the background

Soft shadows blend gradually into the background
So that you can learn more about diffusion and light sources, we'll be sending you an email on that soon! In the meantime, let's focus on how to alter your shadows with a white or black bounce card, which are also called reflectors.
Start by setting up your backdrops next to your light source – this can either be a window or an artificial light like a soft box. If you use Replica Surfaces, Replica Stands make it crazy easy to hold any two Surfaces in an L-shape. Make sure your backdrops are positioned parallel to the window or artificial light to get the most even light across your scene. Your photos will thank you for that!

For the most even lighting across your scene, set up your "studio" (aka backdrops on a table) parallel to your light source. Shadows will land on the side opposite the light source, so think about whether you want the shadows to land on the left or right side of your scene.

Same goes for artificial light sources! Placing your artificial light along the left or right side of your scene will create the most even lighting. Pictured here is a continuous soft box, which is a great option for lighting food and product photos.
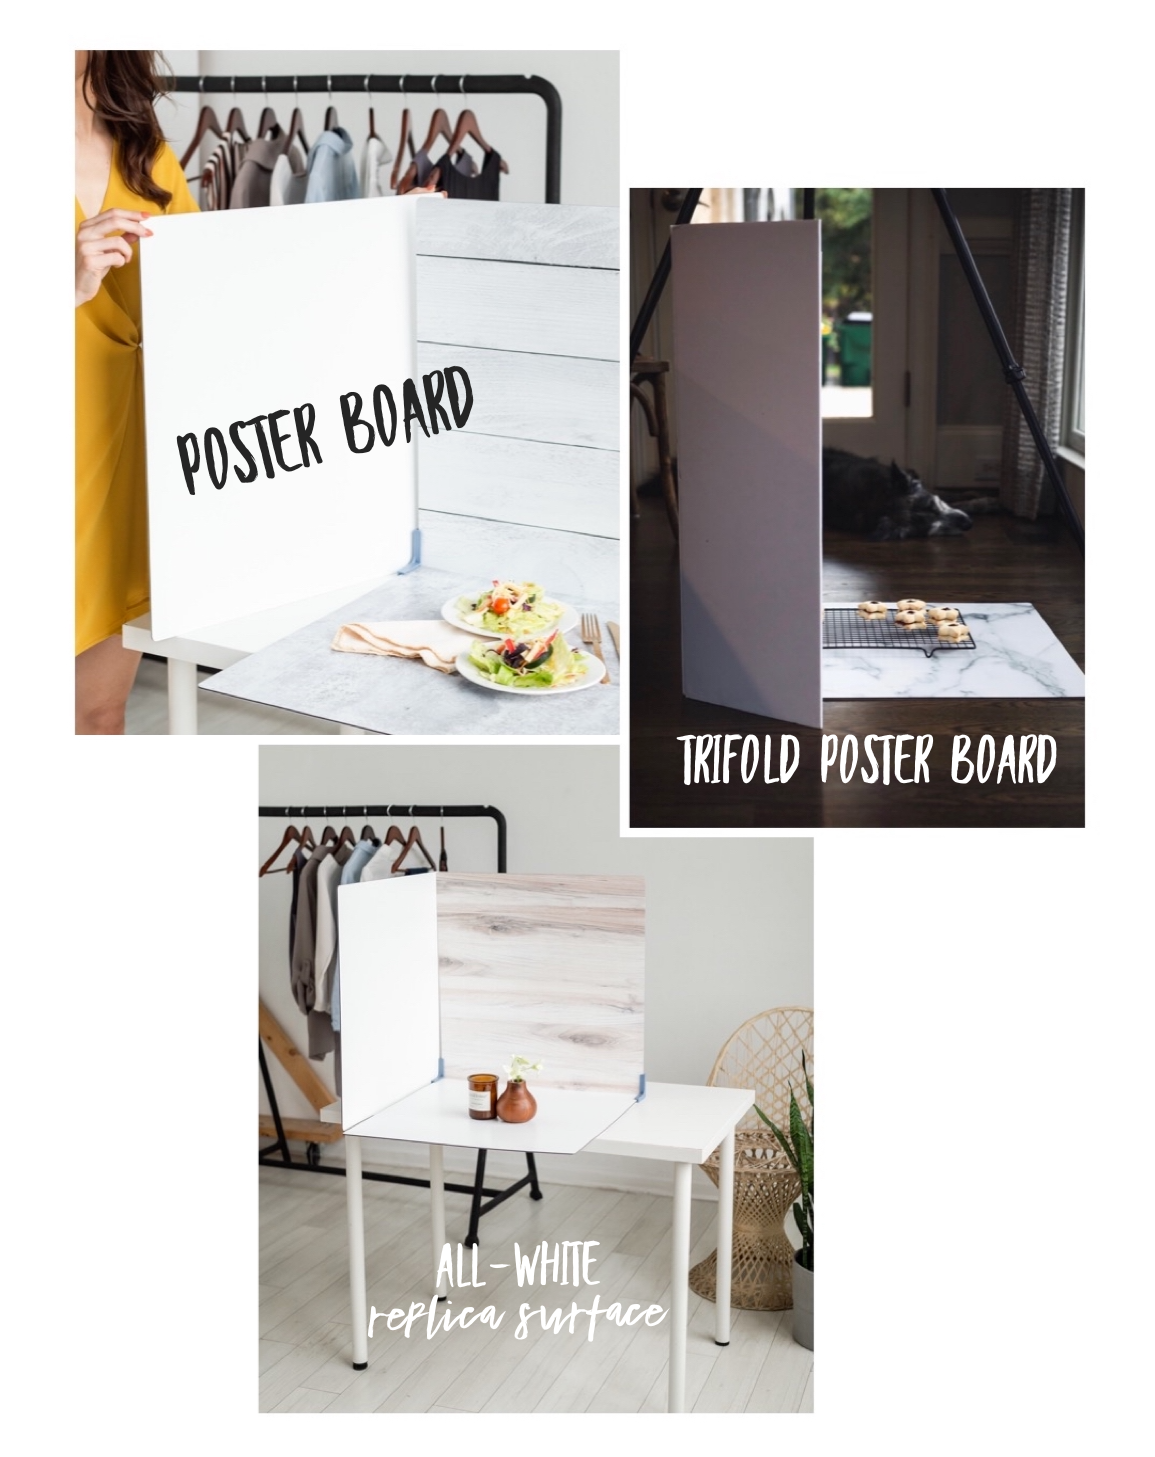
To soften shadows, use a white bounce card/reflector. In the bottom photo below, you can see we're just leaning the All-White Replica Surface against the other Surfaces. If you don’t have the All-White Surface (or are using it in your scene), a piece of white poster board or a trifold poster board work just as well. Trifolds like the one below are great because they stand up on their own and you can find them at any craft store.
* Sleepy pup not included with most trifolds.
Below you can see the same photo taken without and with a white bounce card. The window is on the right and the bounce card is along the left. You can see the shadows are more obvious in the photo without a white bounce card and are almost gone in the photo with a white bounce card.

WITHOUT a white bounce card

WITH a white bounce card along the left side. Note how much more even the light is across the Subway Tile Surface, milk bottle, and cookie stack. Neither photo is better or worse, it's allll about your preference!
Here's another example using products instead of food:

WITHOUT a white bounce card
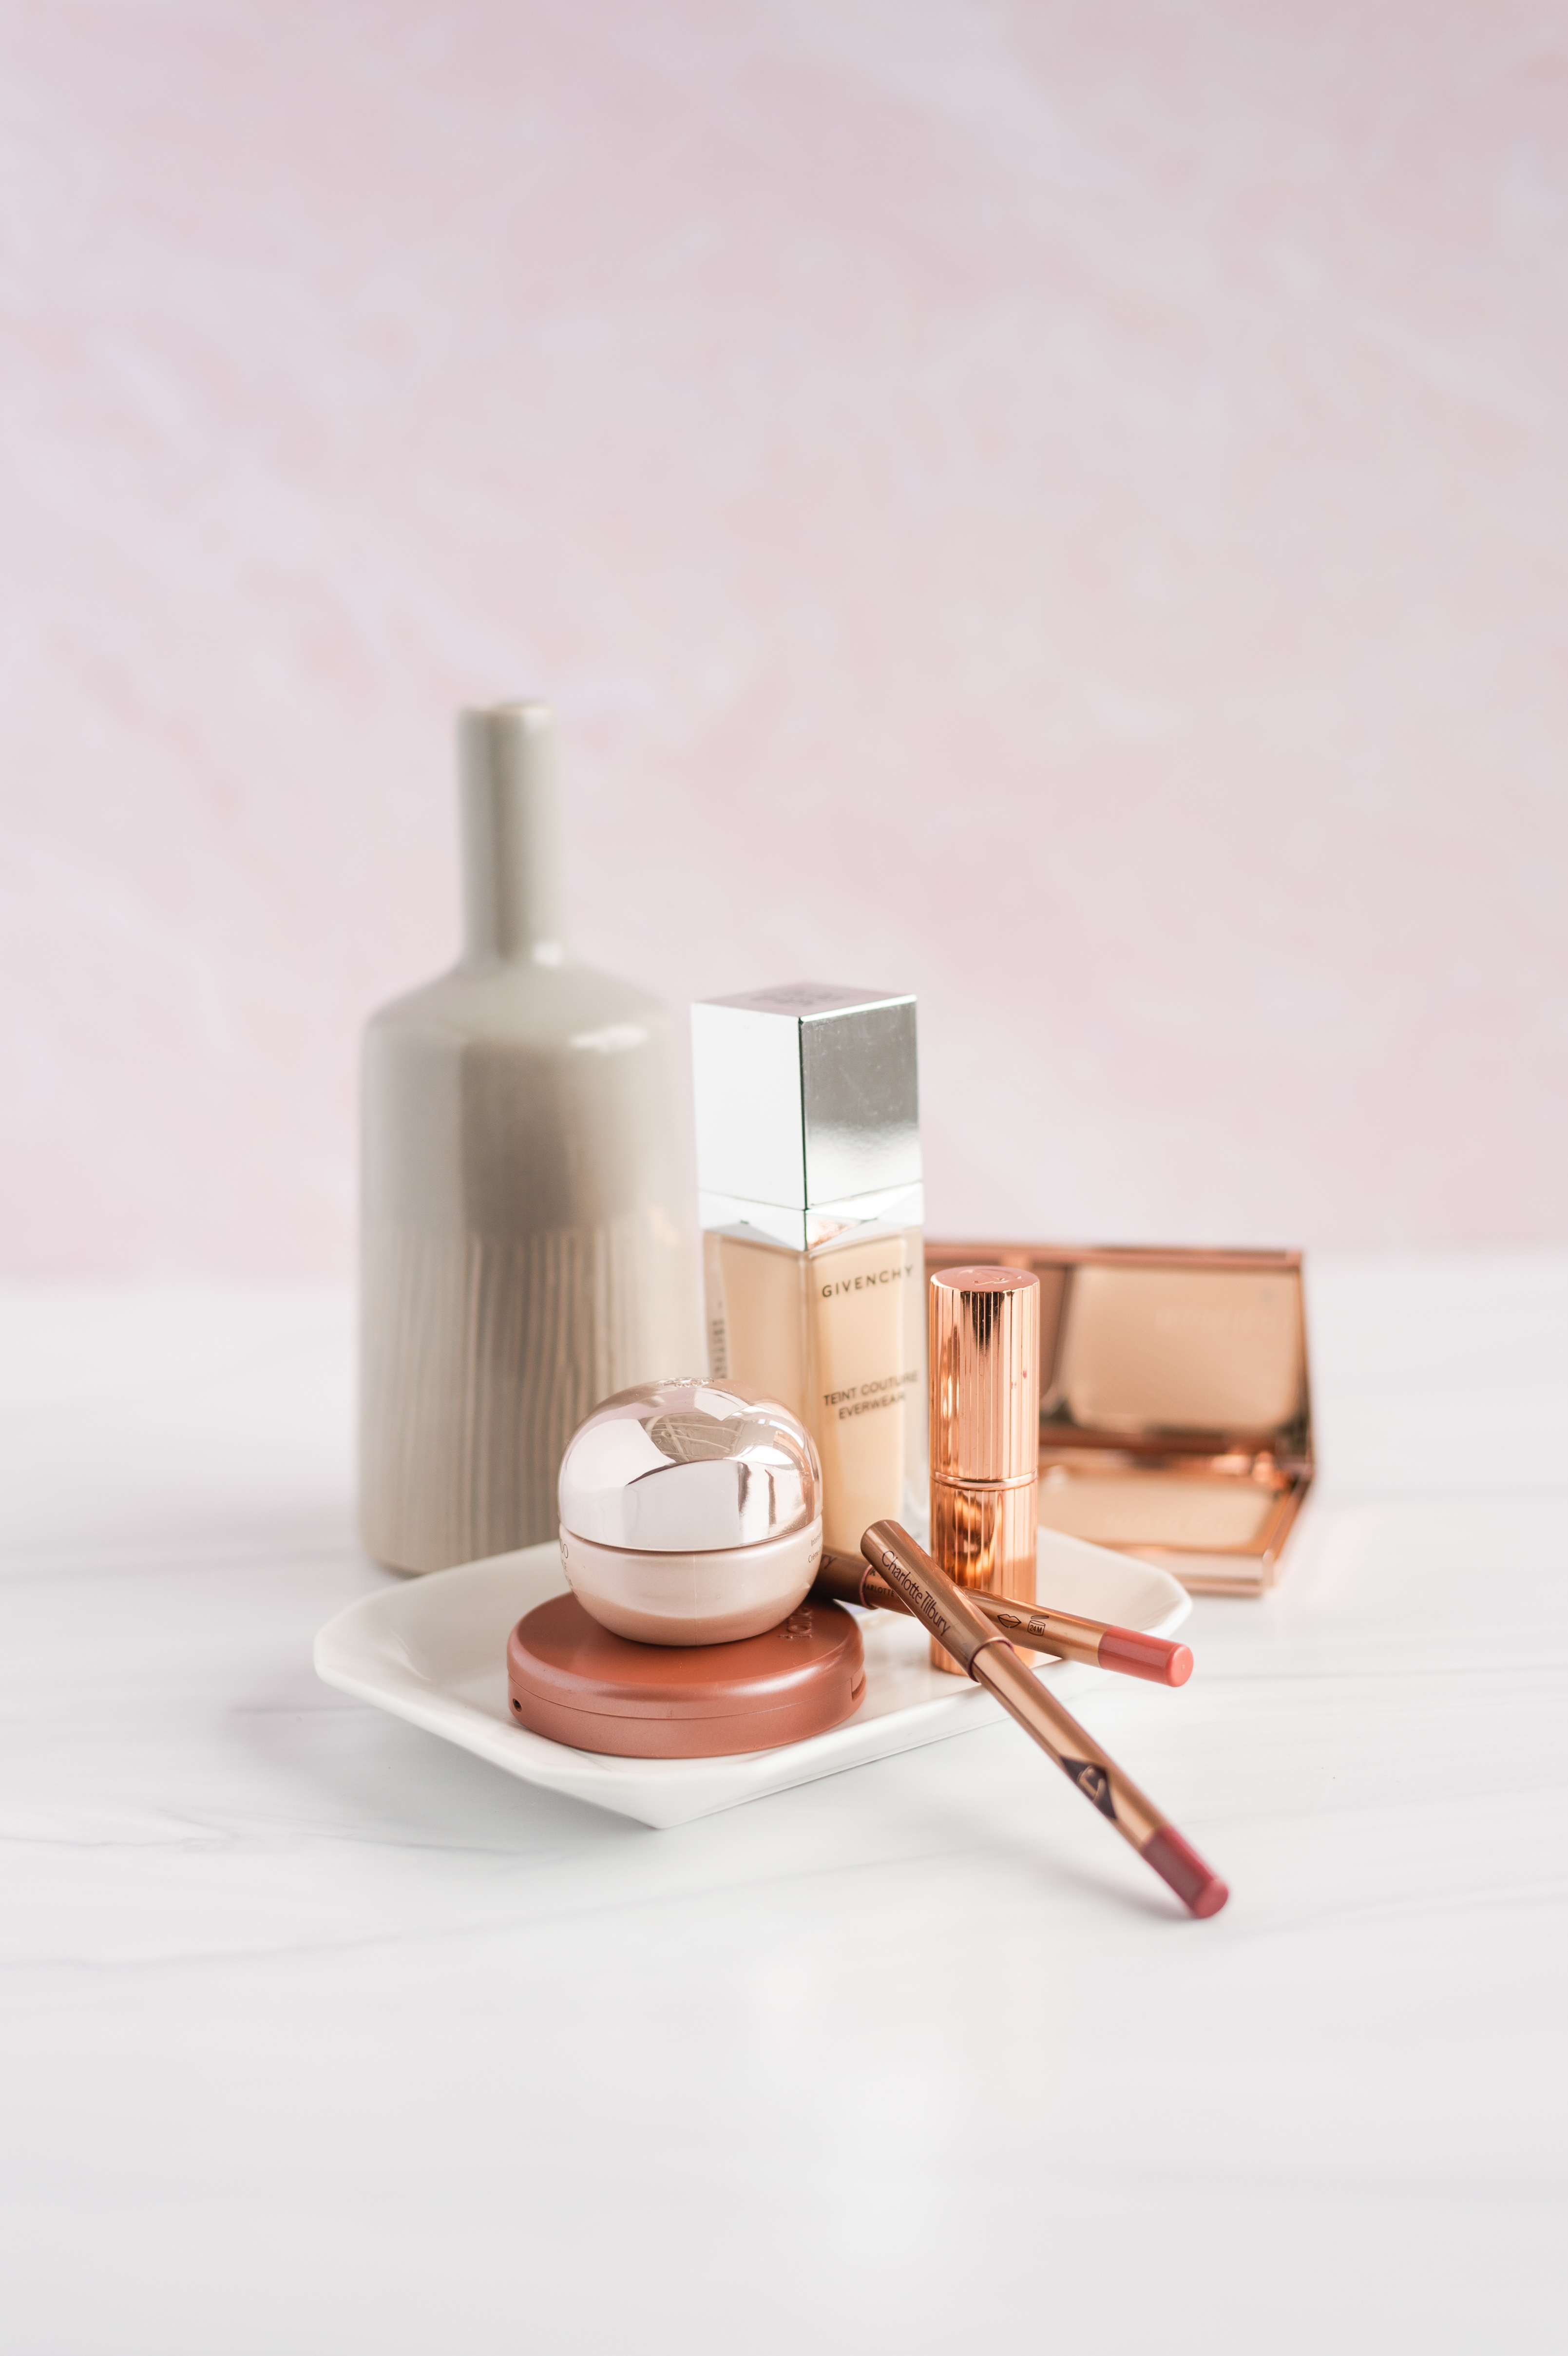
WITH a white bounce card along the left side. Note how much more even the light is across the Rose Marble Surface, gray vase, and white tray. Shadows are also softened.
So what actually happens when you use a white bounce card? Light is reflected off the bounce card and onto the far side of your scene. This brightens the objects that are furthest from your light source and decreases shadows.

For a more dramatic look, use a black bounce card instead. Rather than reflecting light and brightening the far side of your scene, a black bounce card absorbs the light that hits it and deepens the shadows.
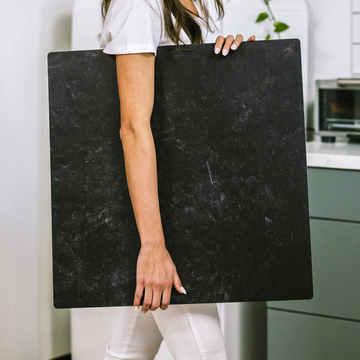
If you already own a dark Replica Surface like Slate and aren’t using it in your scene, they both make great black bounce cards. If not, grab a piece of black poster board or a black trifold from a craft store.
In the photos below, the window is on the left and the bounce card is on the right. We didn’t change anything else here, by the way, just the color of the bounce card! You can see how the white bounce card brightens the right side of the bottle and the dark bounce card deepens the shadow.

Tip 2: Master the Diagonal and “C” compositions
Next up is the fun part – styling! Styling is both the most fun AND the most intimidating parts of food and product photos, so I want to show you two compositions that look super impressive when photographed, but are unbelievably easy to create yourself. Basically, the best combination ever!
The first composition is for eye level photography and works beautifully for both food and product shots. We’ll call it the “Diagonal” for now, but definitely comment better names in the comments section!
These photos were all created using the Diagonal.

The key to the Diagonal is placing your objects in a diagonal line from back to front, with a tall object in a back corner, your subject in the middle, and a shorter object in the opposite front corner.
The Diagonal composition looks pretty basic when shot from above but full of depth in the final eye level shot when you shoot with a shallow depth of field. To achieve a shallow depth of field, choose a low f-stop (for DLSR cameras) or portrait mode (for newer iPhones). We'll talk more about THAT in tip 4!

The Diagonal viewed from above. Note that the props create a diagonal line from back left to front right. Also note that there is greater distance between the larger vase and the plant than there is between the larger vase and foreground leaf.

The Diagonal viewed at eye level. The vases are still the star of the show, but the plant and leaf props create a much fuller scene than if you just photographed the vases alone.
Alright, let's build a Diagonal using a skincare product instead! Start by placing two backdrops in an L-shape. If you use Replica Surfaces, Replica Stands make this crazy easy and you’ll never have to worry about your vertical backdrop falling forward and smashing your scene again! Next, add your props in three steps. Scroll for photos of each step. Isn't it crazy how weird the Diagonal looks from above but how good it looks shot at eye level? Pinky promise we didn't adjust anything between the overhead shots and the final photos!
Step1
Place one or two tall-ish props in the back right or left corner, directly in front of your vertical Surface.
Step 2
Place your main subject near the center of your horizontal Surface, at least 6 inches in front of the vertical backdrop. Keeping it at least 6 inches from your vertical Surface will keep it blurred when you shoot with a shallow depth of field.
Step 3
Place a short prop in the opposite front corner so that you’ve created a diagonal line when you look down on it. That’s seriously it!
For a bit more visual interest, add a towel or cooling rack under your main subject and build the same diagonal. Your final photo will look even more impressive with almost no extra styling effort. Scroll through to see the difference it makes! Of course, you can place your props in any order you want. No need to always start with the background prop.
The second composition is the “C” and it’s amazing for flat lay photos of both food and products. The trick here is to arrange all of your props in a crescent shape, leaving the middle area bare.

The "C" draws your eyes from one prop to the next in a pleasing way. The photo feels composed but not overly styled. Your eye may follow a different path, but mine goes from the chocolate chips in the bottom left, to the pile of chips in the center, up to the vanilla bottle (since it's similar in color to the chips), and finally leftward to the gorgeous gold spoon.
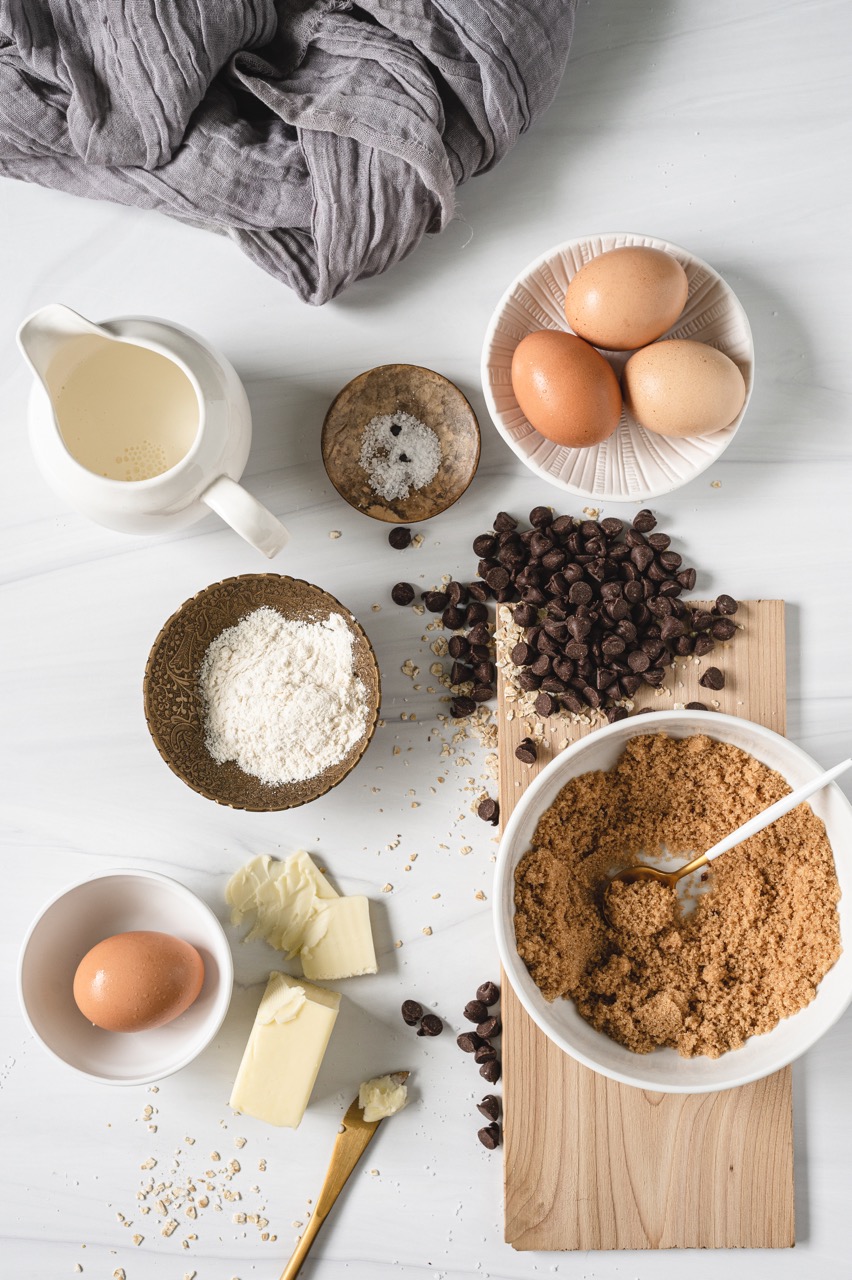
Contrast the “C” with this photo. Same props, no C-shape. The whole thing feels more haphazard. Your eye doesn’t know where to start, let alone where to go after that.
The “C” works beautifully for product photos, too, and it’s easy to imagine how you can use it to showcase your line of skincare products, candles, handmade items, jewelry, and more. Here, we’re using it to feature the art of an incredible artist.

Here, we’re using the same "C" to feature the art of artist and friend: The Mint Gardener.

Of course, you can flip the "C" too. Which actually makes it a true "C" now that I think about it! Which do you prefer: bare area on the right or left? Let us know in the comments!
Tip 3: Get the most out of your shoot
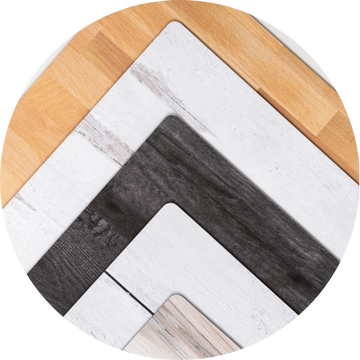
Ok, so now you’ve set up your studio and composed a gorgeous scene. Let’s get the most out of your shoot! A great way to do this is by mixing and matching different backdrops, like we did here with the White Marble, Shiplap, Cement, Weathered Wood, and Slate Replica Surfaces.
Mixing and matching different vertical and horizontal backdrops will give you a ton of photo content all from the same photoshoot. No extra effort!
Choose backdrops of different colors and intensities that compliment your brand aesthetic and that look great together. That way you can create light/light, dark/dark, and mixed dark/light combinations that lend variety to your product pages and look amazing on your Instagram! Of course, if you use Replica Surfaces, Replica Stands make quick changes ridiculously easy.
Tip 4: Create depth
Now that you’ve created a gorgeous diagonal for your eye level photos and chosen your backdrop pairings, you want to take advantage by keeping your subject IN focus and blurring everything else. Just like in these photos. This creates a sense of depth that makes your audience take notice.

Everything in focus. The photo looks flat and...meh.

Background out of focus and the photo is full of depth! Note that the vases are pulled forward, away from the vertical Surface. This is essential if you want blur the background.
There are two keys to creating that gorgeous blur:
- Placing your subject near the center of your horizontal Surface, at least 6 inches in front of your vertical Surface (like we talked about in tip 2 when we created the Diagonal) and
- Shooting with a shallow depth of field.
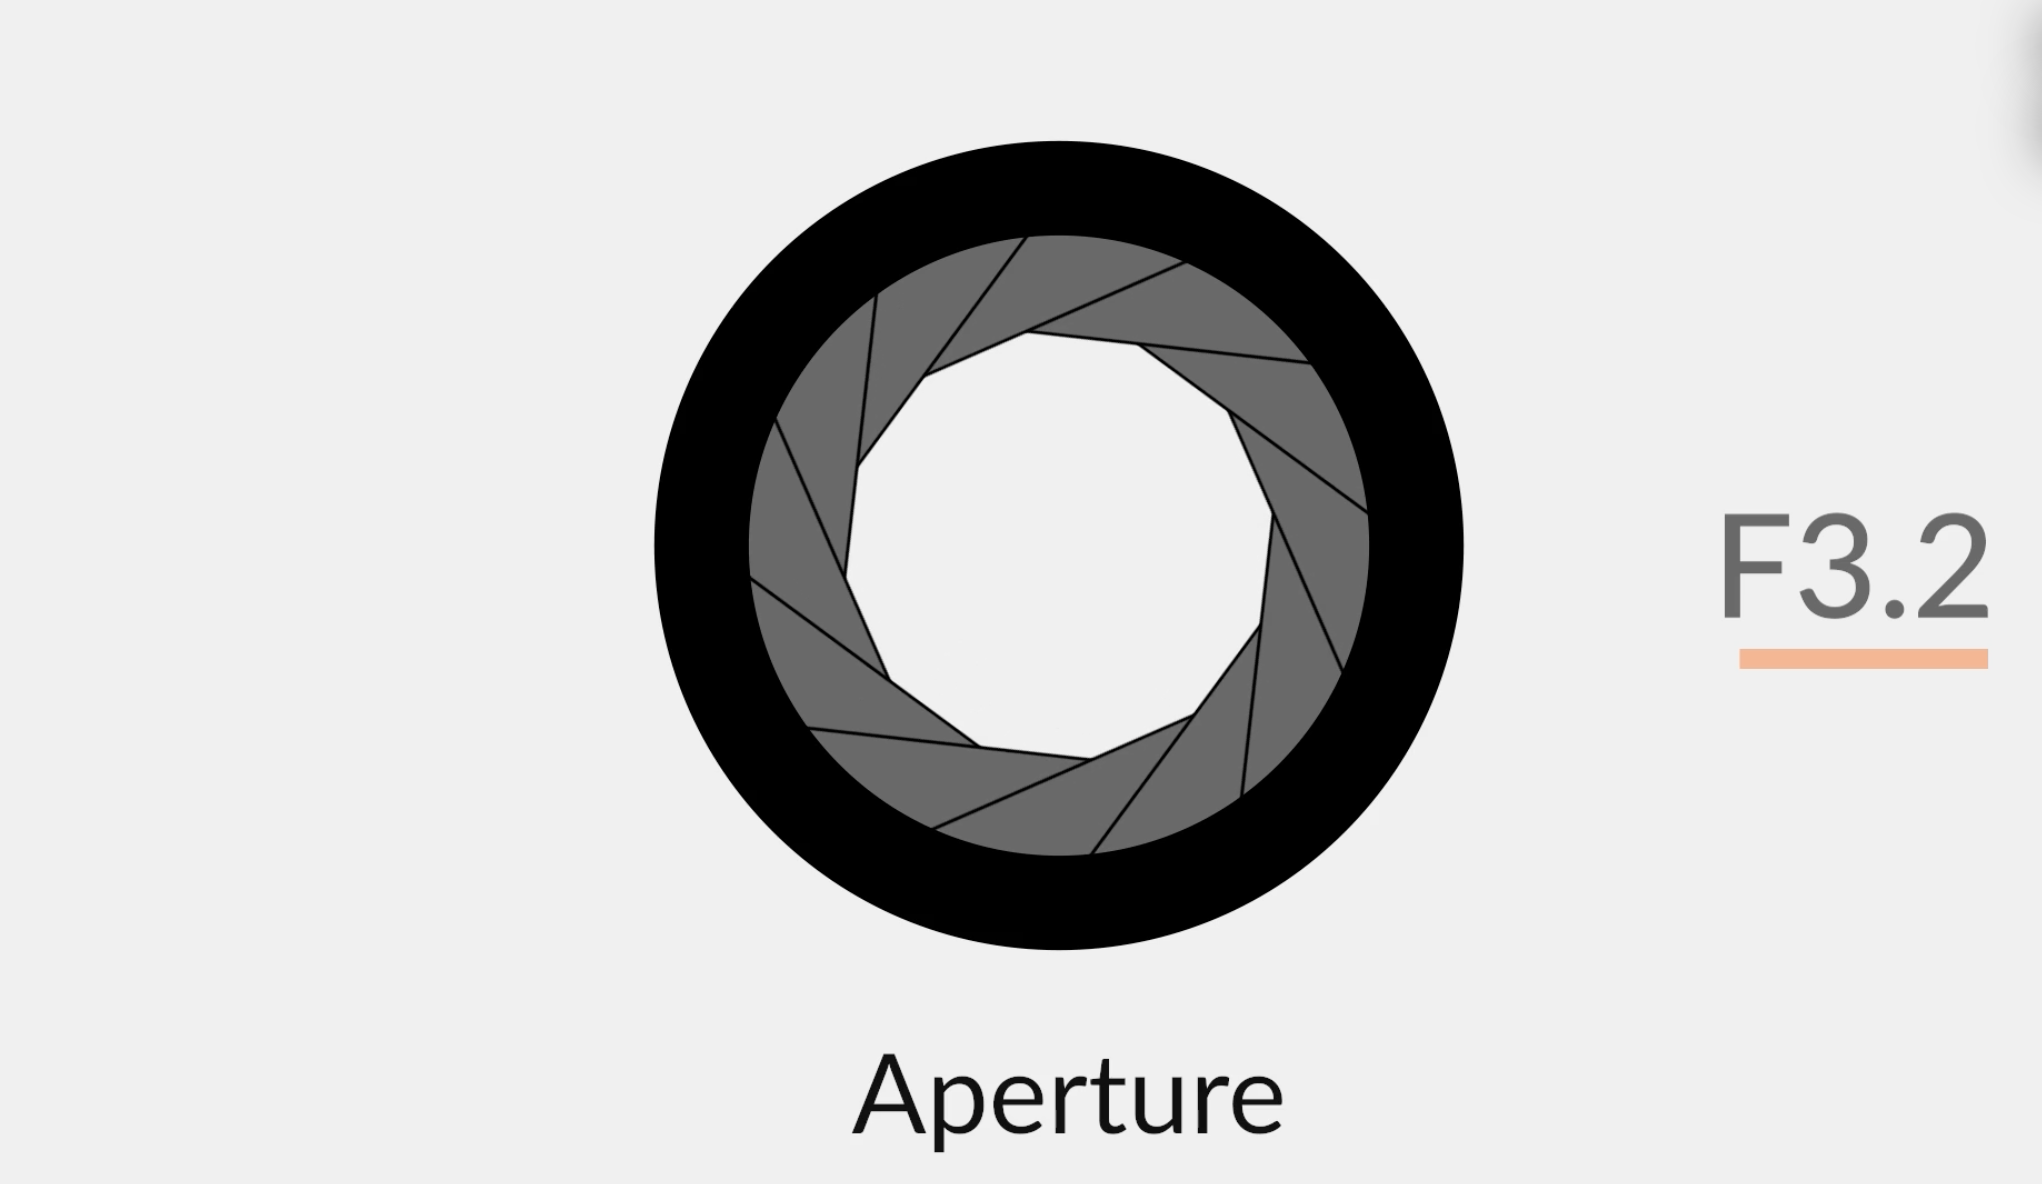
Using an even lower f-stop works too, but then your background and foreground will be VERY blurred. It’s up to your eye whether you like that or not.
If you have an iPhone 7 plus or newer, you can get a similar effect by using portrait mode! These photos below were both taken on an iPhone ad are unedited. You can imagine what a little editing would do!

Tip 5: Flip it
Ok so this leads right into the last tip. If you use a phone camera without a tripod, here’s an awesome trick for eye level shots: flip your phone and shoot upside down! Since the camera lens is at the top, shooting with your phone upright angles the lens downward, even if you hold the phone straight up and down.

You can see from the photos below (both unedited and taken on an iPhone, by the way) that looking down on your subject isn’t always the most flattering, especially when you want your subject to look tall and majestic. So flip your phone! Flipping the phone keeps the lens in line with your subject and will give you a true eye level shot.

Plus, if you get one of those knob things that sticks to the back of your phone case, it makes it crazy easy to hold the phone between your index and middle fingers and click the shutter button with your thumb! Give it a go - I have a feeling this is going to change your phone photo world!
* Special thanks to my pal Emily of @cooking_emily for originally showing me this incredible phone flip trick!
And that’s that! My five favorite photo tips that will take you from lighting through composition to shooting the final scene. The last step to creating truly professional-looking photos, is editing them in an app like Lightroom. But that’s a topic for later! Keep your eyes on your inbox and we'll send some amazing editing tips your way soon.
By the way, we ADORE seeing your photos and how you're putting these tips to work! If you haven't already, come join us in the Replica Facebook VIP Community. It's your place to post your photos, ask for photo advice, and bond with over 9000 incredible business owners, photographers, and bloggers - whether you own any Surfaces or not. See you over there!


Thanks so much! This really helped